Welcome to The DoodleBLOG!

Hello and welcome to the DoodleBLOG. The official blog of The Doodlebug, Inc. Your scrapbook store, and more!

Sunday, August 16, 2020

STEPPING OUT OF THE 12 X 12 SQUARE

Hi Scrappy Friends,

When you think about basic scrapbooking, the first thing that comes to mind is a 12 x 12 sheet of paper, embellishments and your favorite photos. We work diligently to get our pages just right and make the "perfect layout". Then, we loving store them away in our protective sleeves, add them to our albums and store them on a shelf. I personally own about 50 completed albums. My albums consist of vacation, holidays, sports, heritage, pet and special books for each of my 6 grandchildren. To me all of my albums are priceless, hold so many memories and are the product of hours upon hours of work. I am "quite sure" all 4 my grown up sons will fight over them some day, at least that's what I have convinced myself. (wink-wink)

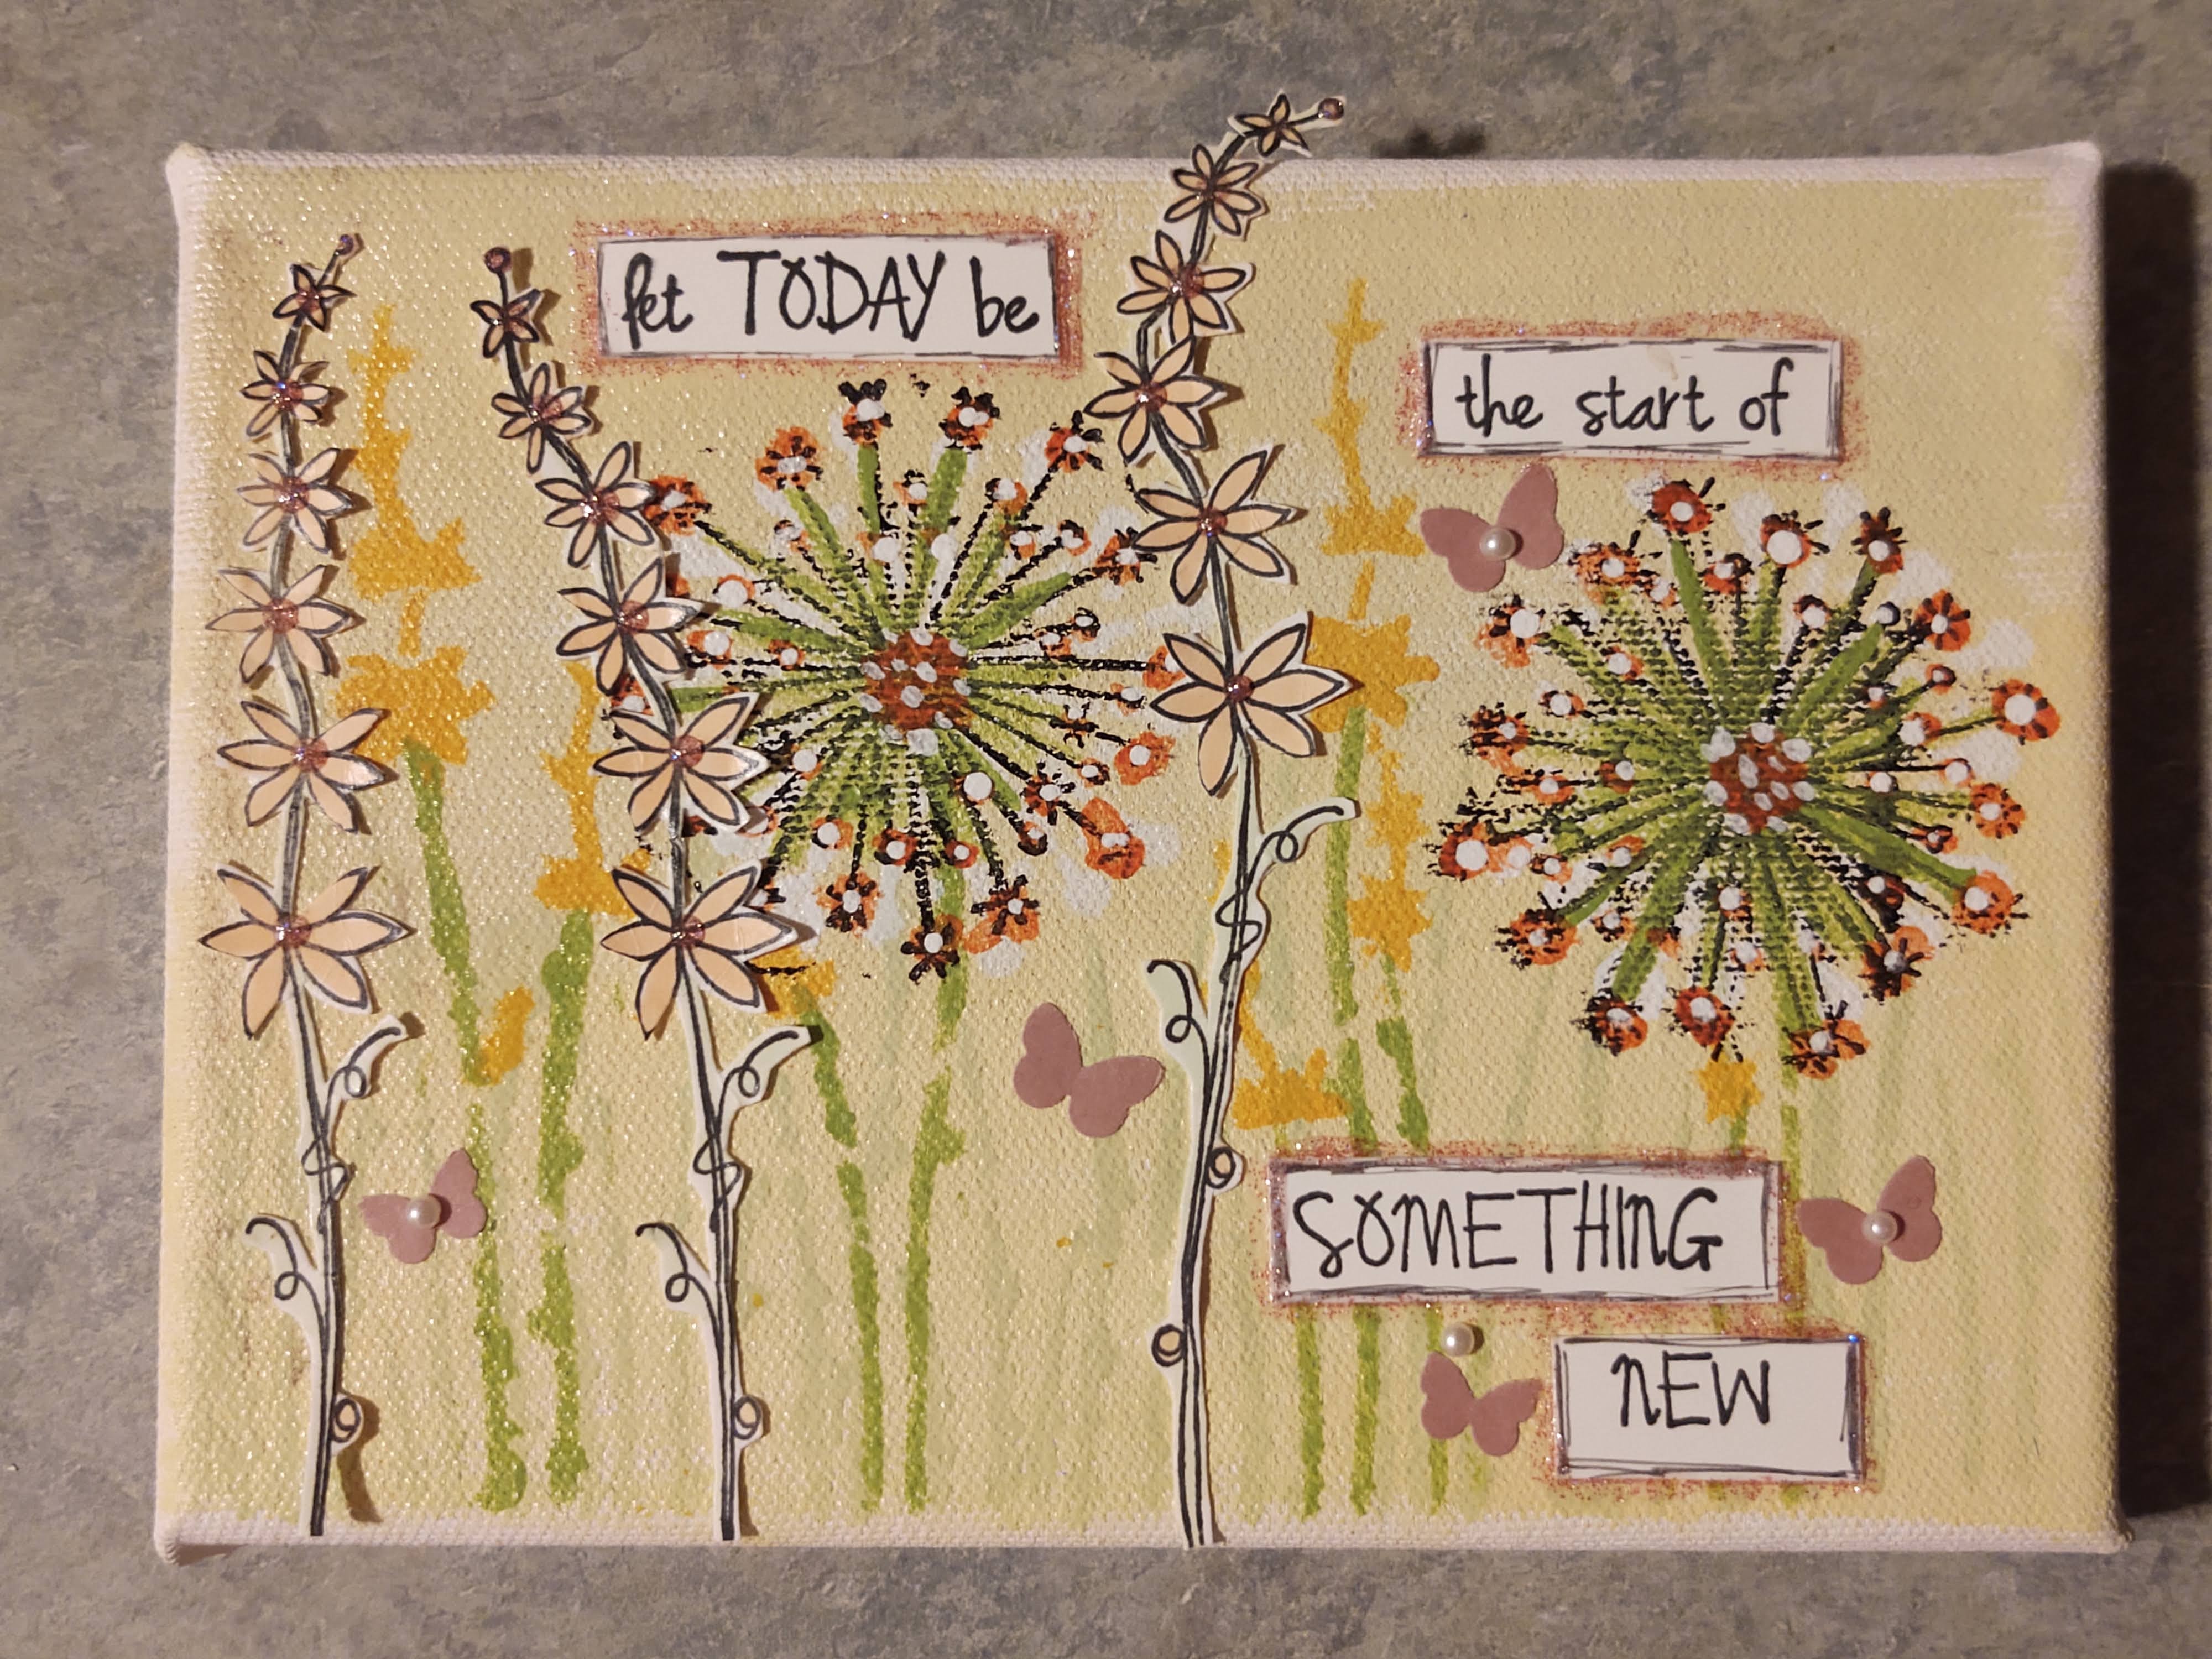
Several years ago, it occurred to me that every layout I created was being put away, out of sight and out of mind. I wanted to see my hard work so I decided to buy a canvas, after a few you-tube videos, I was ready to go.  I was using the same paper, embellishments, chipboard, a few personal treasures, my photos and a host of mixed media products I always had. After some trial and error, "Voila" my first canvas was created. I was hooked. This canvas is not hidden away, it hangs in my craft-room where I can see it everyday.


Since that first altered project, I have created many. I have experimented on more canvases. I did a wine bottle that has a picture of my great-grandparents on their wedding day. I have done several shadow box frames. One of my favorite things to try, was working on a vinyl album (I'm admitting my age here, I am referring to a record-vinyl album). My husband and I's, favorite song is "If" by Bread. I used one of our copies of the Mania Album, took black gesso, lots of paint, flowers, some stencils and again just put it all together on an experimental "give it a try". I printed out a few of the lyrics and added those on too. I have it displayed on a plate holder and it sits on our dresser. I am currently scouting out the antique stores for a 45 vinyl copy of "Puppy Love". I want to do a layout on it, of our sweet family dog Curly, that we recently lost. Also, another project up on my scrapbook table is a recycled dresser drawer, that I intend to do a scrapbook page on the inside of, using Christmas theme product. It will stand next to my Christmas Tree. You will be seeing that one real soon.


Don't be afraid to take a step out of the 12 x 12 flat square. Do some experimenting on different surfaces that you have never tried to use before. Look for items you can recycle. The ideas and possibilities are endless. Have fun with it and get your hands messy. You work hard on it your creations, so show them off, don't store them all away on a shelf. The Holidays are coming up quickly,  Canvases and 3-D frames, make great and very meaningful gifts. Show and share your ideas and altered projects on the Doodle Dish, we all need the inspiration. Happy Scrapping, talk to you on the blog again, in a few weeks.

Dolores

Saturday, August 15, 2020

Mixed Media Layouts Made Easy

Hey there Doodlebug friends!  Have you ever looked at same of the amazing mixed media style scrapbook layouts and thought wow, that's amazing, but looks too difficult?  Well, I'm here to show you today that isn't hard at all to make one of these layouts.  Take a good look at this layout below and then we will go through the steps to create all of the layers shown!


The first step to starting any mixed media layout is to give your paper a coat of clear gesso.  It also helps to use a heavy weight paper like 49 & Market.  I personally like Finnabair's gessos the best. I have heard there has been a shipping delay of some of her products due to the Covid-19, but if you would like to purchase them, Hannah can add you to the special order list. I dry the gesso with a heat gun from the front and back, making sure to not get too close to the paper which will cause it to curl. 

On this layout I then used TCW Light and Fluffy Modeling Paste.  This is by far my fav paste for adding texture with stencils. I also dried this with my heat gun.  Next I added some brown to the background by spraying the page with water then adding Distress Oxide Spray in Vintage Photo  .  I spread the oxide around with a paintbrush adding more water and blotting with a baby wipe as needed to achieve the color shown here.  I then added distress oxide inks by smushing them on an acrylic block and adding water.  I also added more water and blotted as needed during this process. I dried the page after I added each color to give it a layered look rather than allowing the colors to mix. I also added a few splattered of the oxide spray to the page.

I arranged and attached my paper layers and embellishments like a normal layout. I did add some cheesecloth for texture between some of the layers.  I also used scrap chipboard to raise some of the layers so that the resin embellishments fit nicely underneath the paper.  


After I finished the layout I gave it some finishing touches with Art Stones and Dina Wakely's new gloss spray.  I used soft matte gel to adhere the stone.  I started by placing the largest size stones, then adding the regular size, and finally sprinkling the mini art stones on top.  Lastly I splattered the entire page with white gloss spray.  These little details are what take nice page to a wow! page. 

Below you will find links to all of the products I used on this page!


Monday, August 3, 2020

Getting creative with your supplies and Paper Artsy.


Hi everyone, It's Abby with you today, and I'd like to share with you a tag I created showcasing Paper Artsy.  I took a class taught by Hannah at the store and have enjoyed using Paper Artsy ever since.  The fresco finish chalk acrylics layer great with some being opaque and others being translucent.


First, I gathered some Paper Artsy supplies.  We will be adding in more later.  🙂 I started out with the paper artsy zinis (ZN17) stamp.  I have a fondness for pigs.  


I heat embossed it with white embossing powder and then painted it with Sherbet opaque fresco paint.  I diecut it out of the Gina K heavy weight cardstock.


I painted a tag using snowflake fresco paint and painted with slimed thru Paper Artsy PS129 stencil over it.  We will use this later.  


I picked out a leaf stamp from ETS 39 Paper Artsy stamp set


I stamped it out using the slimed fresco chalk paint that I painted onto the stamp.  This worked well as long as long as you clean off the stamp soon afterwards.  


I sprayed Night Dina Wakley gloss spray 2nd and removed the excess with a paper towel.  This is the first time using Dina Wakley gloss sprays.  I love the resist effects these acrylic gloss sprays give.  I have watched several of Dina's YouTube videos on her channel and will be watching many more.  I will also be adding in more colors as these are very unique and fun to work with.  


I layered the leaves I fussy cut out behind the pig stamped diecut image on the tag using Ranger multi medium matte.  I popped up the stamped diecut image using foam tape.   I picked the sentiment from EKC26 Paper Artsy stamp set and stamped it over the Dina Wakley sprayed background. I  love how you can stamp on the sprays once dried and it is so crisp.  Dina suggests letting the sprays air dry, never heat dry as they are acrylics.  The tag dried very fast.


I was thinking the tag would make the perfect embellishment for the front of a card, but in the end decided that it would live inside my new August art gratitude journal.  I pulled out a new set of graphic 45 travel notebooks I picked up at our favorite doodlebug.  😉.   There are a lined, grid, and watercolor paper notebooks in the set.  I will be using the watercolor one today.  


I added it to the inside pocket using glue dots.  I know alot of us are struggling to keep sane in these trying times.  I find reflection helps alot no matter what I'm stressed about.  Each day in August I will be making a journal entry either about a happy moment of the day or something I'm grateful or thankful for.  


I wanted to decorate the front as well, so I dug into my "use or loose" bin of random bits.  I think we all have one of these.  🙂. I sprayed night Dina Wakley gloss spray thru a picket fence stencil for the background.  I added a canvas tag we painted earlier using glue dots.  


After adding all the random bits using glue dots this is the end result.  It brings me joy.  It is fun to free play and experiment with your supplies.  You might discover something new.  It's all in the creative process and the journey my friends.  I encourage you to pull out your supplies and get creative.  Check out all the paper artsy products and Dina Wakley sprays at the Doodlebug today.  They sure are fun to play with.  I will leave you with 4 Paper Artsy canvases I have made.


Made in class at the Doodlebug. 


Made at the September 2019 Doodlebug retreat.


Made at home.  This one is a smaller size, 5x7. 


Made this one for my mom for her birthday this year.  😍

Stay safe, stay well, and happy crafting my friends.  I hope you will give Paper Artsy a try and "Let  today be the start of something new".  I look forward to seeing your creations on the Doodlebug dish Facebook group. 😁. -Abby